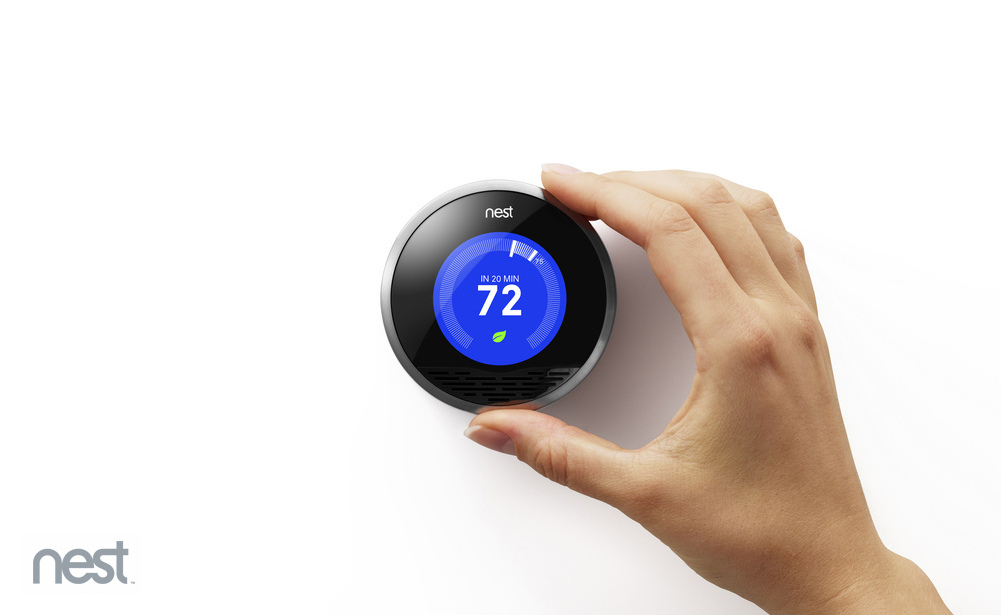
I have a Nest thermostat, which is a wonderful piece of technology, however that meant that I had to get my phone out of my pocket, unlock it, launch the Nest app, wait for it to connect, and then adjust the temperature. I wondered if it was possible to control my Nest from the command line on my laptop, which I am always working in anyhow. The answer is YES, and this is HOW:
Step 1 – Create a Nest Developer Product
 You need to create a Nest Developer account and product to get the Nest API access you need to control your thermostat.
Create a Nest Developer account here – https://developer.nest.com/
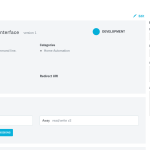
Then create a Product. Mine is called “Devons Command Line Interface”. Make sure you grant read/write permissions for the Thermostat and Away.
Copy down the Product ID and Product Secret values. You will need them later. You will also need the Authorization URL in the next step so don’t close this window!
Step 2 – Get your PIN Code for your Nest Thermostat
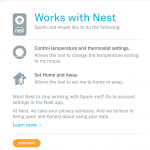
 Copy the Authorization URL shown on the right side of the Nest Developer Product Details page and paste it into a new browser window. It should prompt you to allow your Product to connect to your personal Nest account. Click on Continue.
It should then give you a PIN Code. Copy this down carefully!!!
Step 3 – Get your Access Code
Now that you have a PIN Code, you need to generate a Nest API Access Code using your PIN Code and the Product ID and Product Secret from your Nest Developer Product Details Page.
curl -X POST "https://api.home.nest.com/oauth2/access_token?client_id=%YOUR_PRODUCT_ID%&code=%YOUR_PIN_CODE%&client_secret=%YOUR_PRODUCT_SECRET%&grant_type=authorization_code"
Replace the %YOUR_*% values with the correct values for your application the Nest PIN. And replace & with &. Then execute this in your command line. You should get back a long access token that starts with a “c.”. This long string is your Access Token and will be used for authorization for API calls.
Step 4 – Get Your Nest Thermostat and Structure IDs
Now that you have your Access Token you can retrieve the IDs for your Thermostat and Structure (Home) which you’ll need to setup the command line API aliases.
curl -L https://developer-api.nest.com/devices/thermostats\?auth\=%YOUR_ACCESS_TOKEN%
This command will return a big block of JSON data. What you are looking for in there are two values: the device_id and the structure_id. Copy those values, you will need them soon.
Step 5 – Create the Command Line Aliases
Now you have everything you need! I use ZSH, but this should work just the same in BASH or the shell of your choice. I created four aliases in my .zshrc (use your .bashrc or preferred file). Each command will need your Access Token, and either your Device ID or your Structure ID.
nestset() {

curl -L -X PUT "https://developer-api.nest.com/devices/thermostats/%YOUR_DEVICE_ID%/target_temperature_f?auth=%YOUR_ACCESS_TOKEN%" -H "Content-Type: application/json" -d "$1"

}
nestget() {

curl -L https://developer-api.nest.com/devices/thermostats/%YOUR_DEVICE_ID%/target_temperature_f\?auth\=%YOUR_ACCESS_TOKEN%

}
nestaway() {

curl -L -X PUT "https://developer-api.nest.com/structures/%YOUR_STRUCTURE_ID%/away?auth=%YOUR_ACCESS_TOKEN%" -H "Content-Type: application/json" -d '"away"'

}
nesthome() {

curl -L -X PUT "https://developer-api.nest.com/structures/%YOUR_STRUCTURE_ID%/away?auth=%YOUR_ACCESS_TOKEN%" -H "Content-Type: application/json" -d '"home"'

}
Step 6 – Control Your Nest Thermostat From the Command Line with the Nest API!
Now that you’ve defined those aliases you are ready to use them!
nestget returns the current target temperature your Nest is set to:
[fusion_builder_container hundred_percent="yes" overflow="visible"][fusion_builder_row][fusion_builder_column type="1_1" background_position="left top" background_color="" border_size="" border_color="" border_style="solid" spacing="yes" background_image="" background_repeat="no-repeat" padding="" margin_top="0px" margin_bottom="0px" class="" id="" animation_type="" animation_speed="0.3" animation_direction="left" hide_on_mobile="no" center_content="no" min_height="none"][devon:~]$ nestget

71%
nestset takes a single argument which is the new target temperature in Fahrenheit:
[devon:~]$ nestset 72

72%
nestaway sets your Nest into Away mode:
[devon:~]$ nestaway

"away"%
nesthome sets your Nest into Home mode:
[devon:~]$ nesthome[/fusion_builder_column][/fusion_builder_row][/fusion_builder_container]
"home"%
Translation into Portuguese for https://www.homeyou.com/~edu/

Leave a Reply